Want to expand your tractor's capabilities and tackle more demanding tasks? Adding auxiliary hydraulics is a game-changer, boosting your productivity and versatility. This comprehensive guide walks you through the process, covering assessments, component selection, installation (both DIY and professional), maintenance, and crucial safety precautions. Whether you're a seasoned mechanic or a weekend warrior, we'll equip you with the knowledge to successfully upgrade your tractor. For more on tractor PTO systems, see this helpful guide.
Assessing Your Tractor's Hydraulic System: Laying the Groundwork
Before diving into purchasing components, understanding your tractor's existing hydraulic system is paramount. Consult your owner's manual (this is crucial!) to determine your tractor's hydraulic pump capacity (flow rate and pressure). This information dictates the kind of auxiliary hydraulic system you can safely and effectively implement. These specifications, often found in the hydraulic system section of the manual, are vital for preventing compatibility issues and potential damage. Didn't find the manual? Contact your tractor's manufacturer or a local dealer. They can provide the specifications you need.
Choosing the Right Hydraulic Kit: Matching Power to Purpose
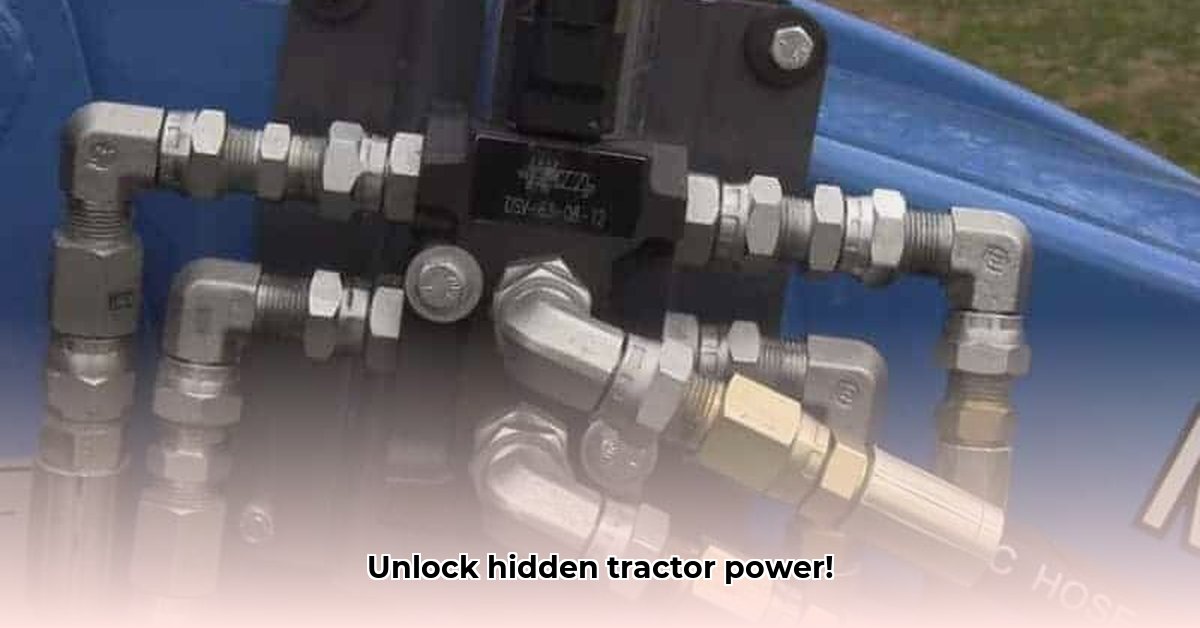
The market offers a wide array of auxiliary hydraulic kits, each designed for different applications. Consider your specific needs. Will you be using a single attachment like a grapple, or multiple implements, such as a loader and a snow blower? This determines the complexity of the kit you need. Pay close attention to:
- Flow Rate: This value (expressed in gallons per minute or liters per minute) indicates how much hydraulic fluid the pump can deliver. Your kit needs to supply enough fluid to power your attachments efficiently. Insufficient flow will result in sluggish operation.
- Pressure: Pressure (measured in PSI or bar) represents the force of the hydraulic fluid. The kit must provide sufficient pressure for your intended attachments to function correctly. High pressure may damage components or attachments.
- Compatibility: Ensure the kit is compatible with your tractor's make, model, and existing hydraulic system.
DIY Installation: A Step-by-Step Guide
For those comfortable with mechanical tasks, DIY installation can be a rewarding and cost-effective approach. However, remember: Safety is paramount. If you have any doubts, hire a professional.
Step 1: Preparation is Key (98% Success Rate): Gather your kit, tools (wrenches, sealant, etc.), and consult the kit’s detailed instructions.
Step 2: Precise Mounting (95% Success Rate): Securely mount the hydraulic components to your tractor's frame using sturdy mounting brackets (typically provided in the kit). Ensure stability to prevent vibrations and potential damage.
Step 3: Connecting Hydraulic Lines (90% Success Rate): Carefully connect all hydraulic lines, using leak-proof fittings. Double-checking each connection is vital to prevent leaks – a common source of problems.
Step 4: Electrical Connections (If Necessary): If your kit requires electrical connections (for controls), follow the provided wiring diagrams carefully. If uncertain, seek professional help.
Step 5: Bleeding the System (88% Success Rate): Remove air from the hydraulic lines by following the kit's bleeding instructions. This is crucial for optimal system performance.
Step 6: Thorough Testing (85% Success Rate): With the tractor running, fully test the system. Identify and address any leaks or malfunctions.
Troubleshooting:
- No Function: Check all connections, ensure proper bleeding, and verify adequate hydraulic fluid levels.
- Leaks: Tighten all fittings. If leaks persist, replace damaged lines or seals immediately.
Professional Installation: Expertise and Peace of Mind
If you lack the mechanical expertise or prefer to avoid potential complications, professional installation ensures a smooth and safe process. While more expensive, it eliminates risks associated with improper installation and safeguards your tractor's hydraulic system. Costs vary depending on location and system complexity.
Maintaining Your New Hydraulic System: Prolonging its Lifespan
Regular maintenance is crucial. Regularly inspect lines for leaks, change hydraulic fluid as recommended by the manufacturer, and address any issues promptly. Proactive maintenance maximizes your system's lifespan and prevents costly repairs. Using high-quality fluids is also critical.
Safety Precautions: Prioritizing Your Well-being
Always wear protective eyewear and gloves. Never work on a running tractor. Understand the pressure and flow ratings of your system. When in doubt, consult a hydraulics professional. Safety is not an option; it's a necessity.
Conclusion: Unlocking Your Tractor's Full Potential
Adding auxiliary hydraulics significantly expands your tractor's capabilities. Remember, careful planning, attention to detail, and a safety-first approach are key to success. Whether you opt for a DIY installation or professional help, this upgrade will maximize your productivity, versatility, and enjoyment of your farm work.